How To Install Click Guardian Using Google Tag Manager

Using Google Tag Manager is a great way to install the Click Guardian tracking code. Not only is it fast to setup but it can quite often already be installed on your website. This is usually the case if you have an agency looking after your Google Ads or a dedicated Google Ads account manager.
Just follow the steps below to get set up!
Installing Click Guardian tracking code using Google Tag Manager
First of all go to- Google Tag Manager. You will need your Google account login for this. Once you are successfully logged in:
1. Click on the container name.

2. Click Add A New Tag.
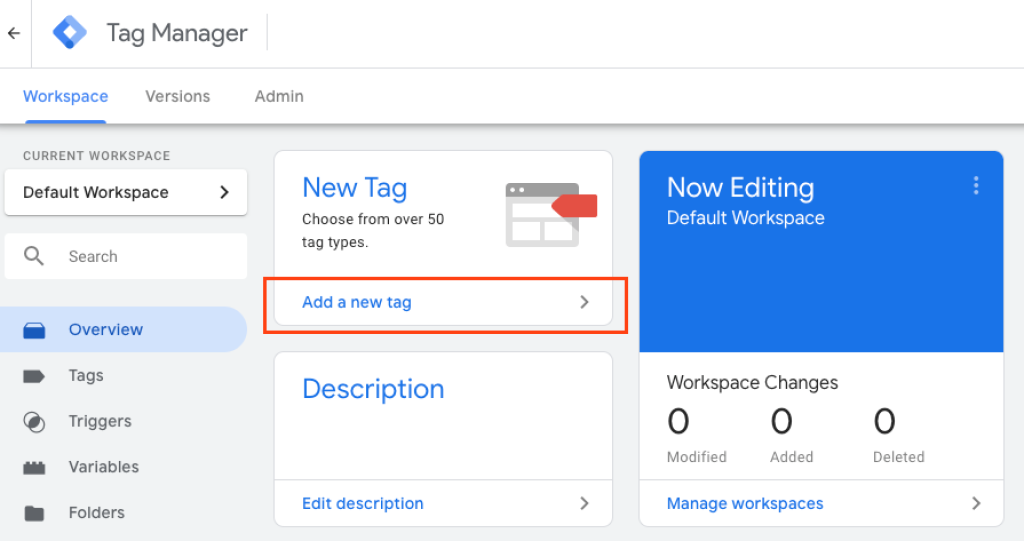
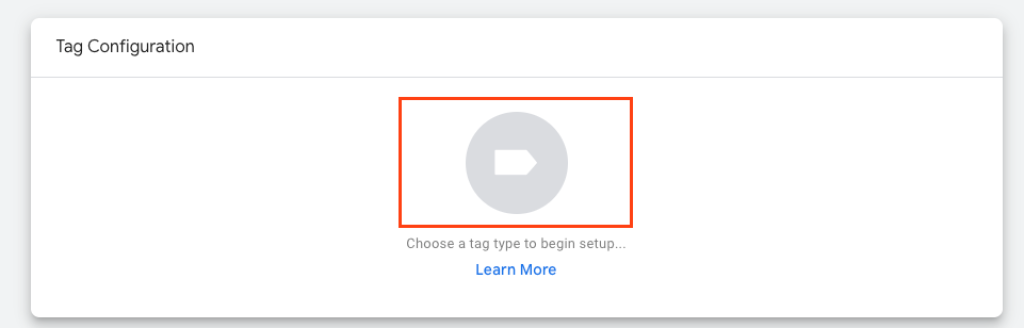
3. Name the Tag 'Click Guardian' and click on the choose tag type icon.
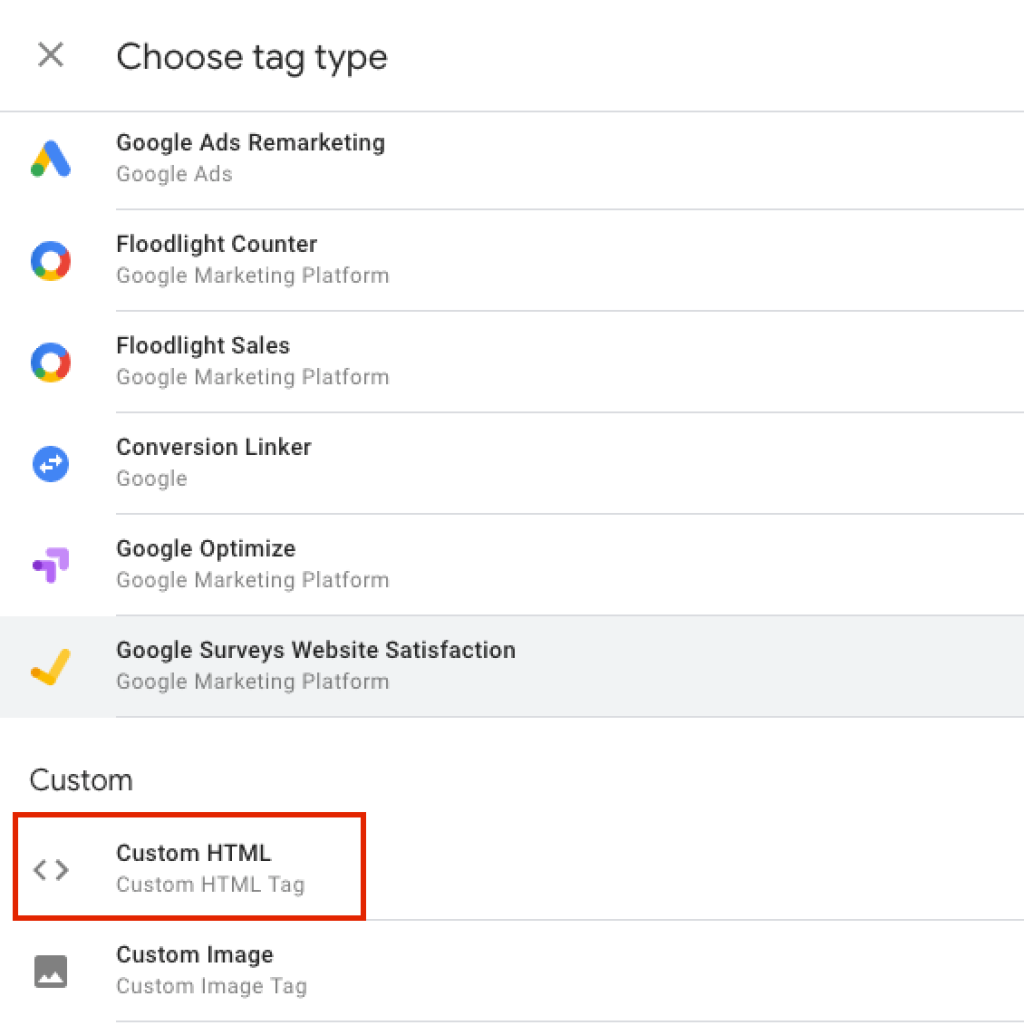
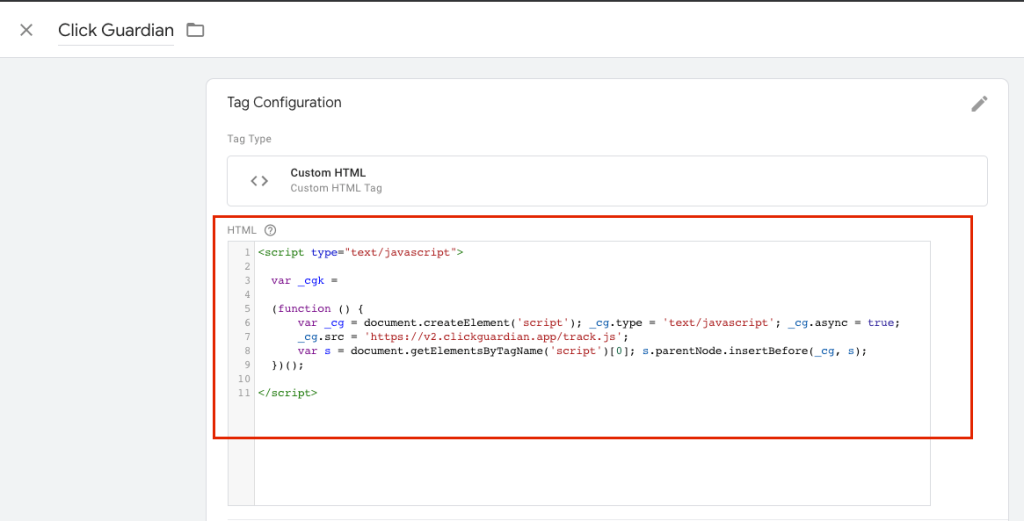
4. Select the Custom HTML Tag.
5. Next copy the Click Guardian Tracking Code from your dashboard. This can be found by going to Setup --> Tracking Code.
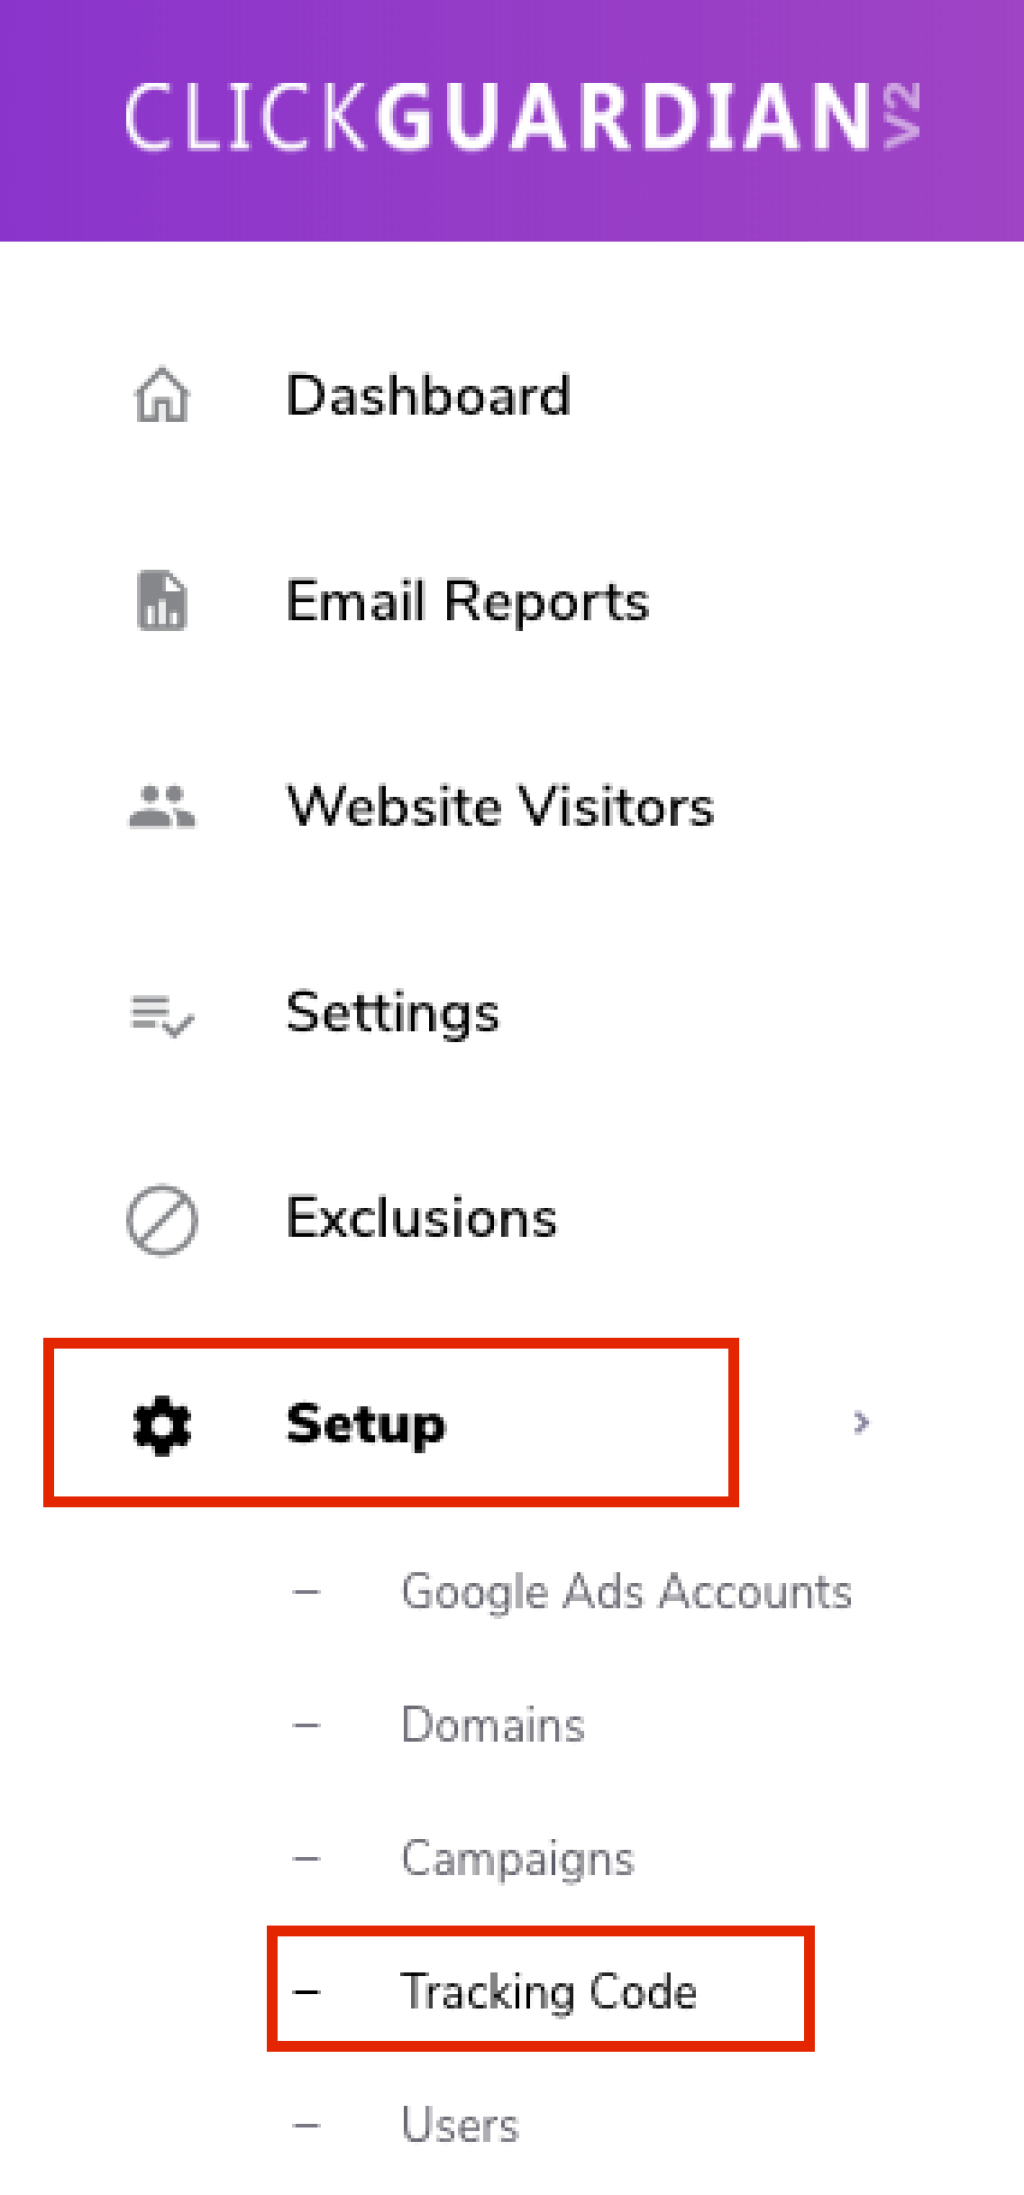
Quick Tip- Make sure you have copied all the code exactly, including all tags and brackets.
6. Then paste the tracking code into the HTML box.
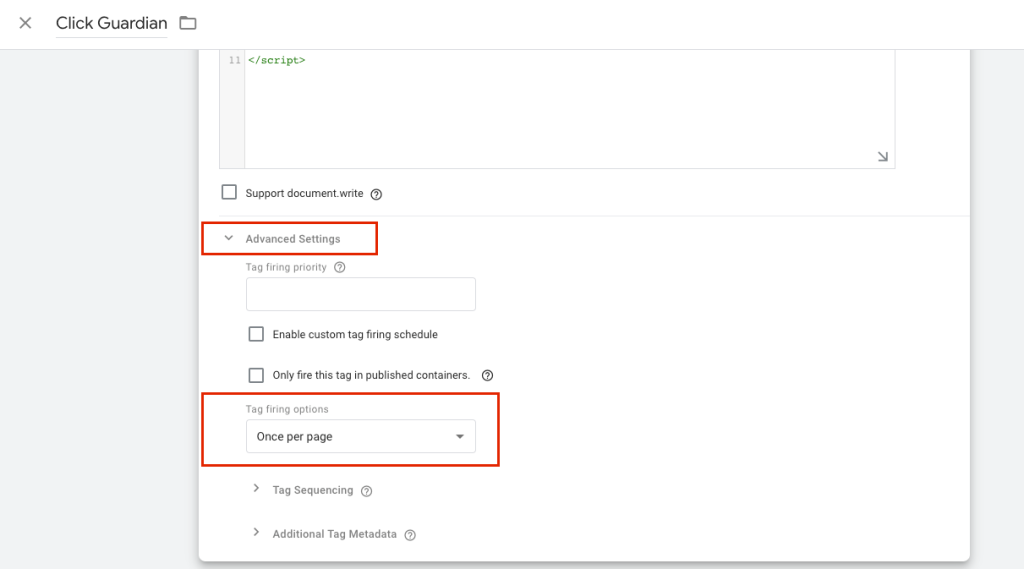
7. Next click on advanced settings and select 'once per page' on tag firing options.
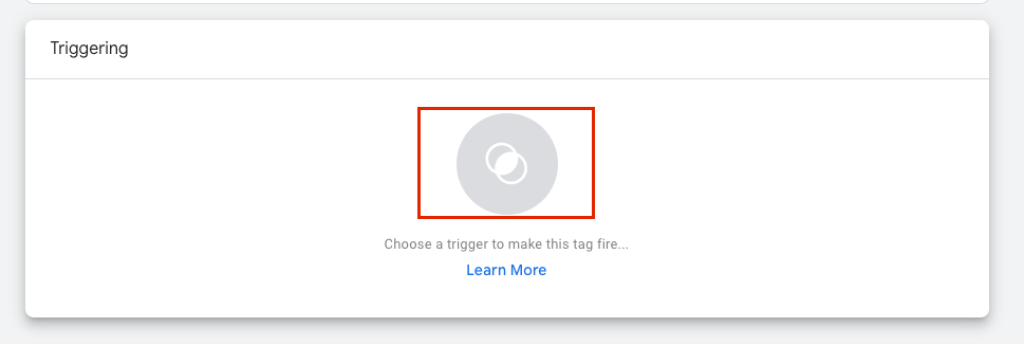
8. Then click on choose a trigger to make this tag fire.
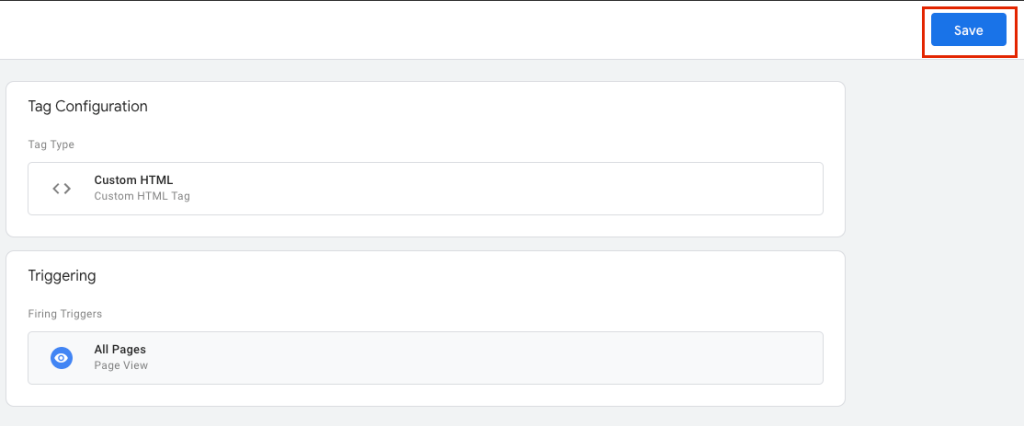
9. Finally, click on All Pages and hit save in the top right corner.

If you don't have Google Tag Manager installed yet but would still like to install the Click Guardian tracking code using it, then you can follow Googles setup procedures here.
If you have any problems following these steps please contact us at [email protected] or call us at 01245 206211.